These gluten-free, AIP/Paleo cassava crackers are a mash-up of several recipes I found online. My one big change is adding more water to make this a loose, spreadable dough – no rolling required!
CASSAVA CRACKERS – INGREDIENTS
- Cassava flour – you can find this online or at most international grocers/produce markets. I got a 2-lb bag for relatively cheap at my local Mexican/Hispanic food market.
- Tiger Nut flour – Whole Foods carries this; conventional grocers may have it stocked in their “healthy” or “gluten-free” aisle. You can also order online.
- Coconut oil
- Dried herbs
- Salt
CASSAVA CRACKERS – RECIPE
NOTE: this is a double batch, feel free to halve if you only have one sheet pan or don’t want a lot of tempting starchy carbs in your house at this time!
- 1.5 cups cassava flour
- 3/4 cup tiger nut flour
- tablespoon or so of dried herbs or spices***
- 1/2 cup coconut oil, melted
- 1/2-1 cup water
- 1 tsp salt (or to taste)
*** Experiment with dried herbs and spices and find what you like! Thyme, oregano, basil, ginger, and turmeric are all great in these crackers. Careful with herbs and spices that can be overpowering like cinnamon or rosemary, start with less than you think you need, you can always add more to your next batch.
Preheat oven to 300.
Mix together flours, herbs, and salt.
Mix together coconut oil and 1/2 cup water. Add to dry ingredients.
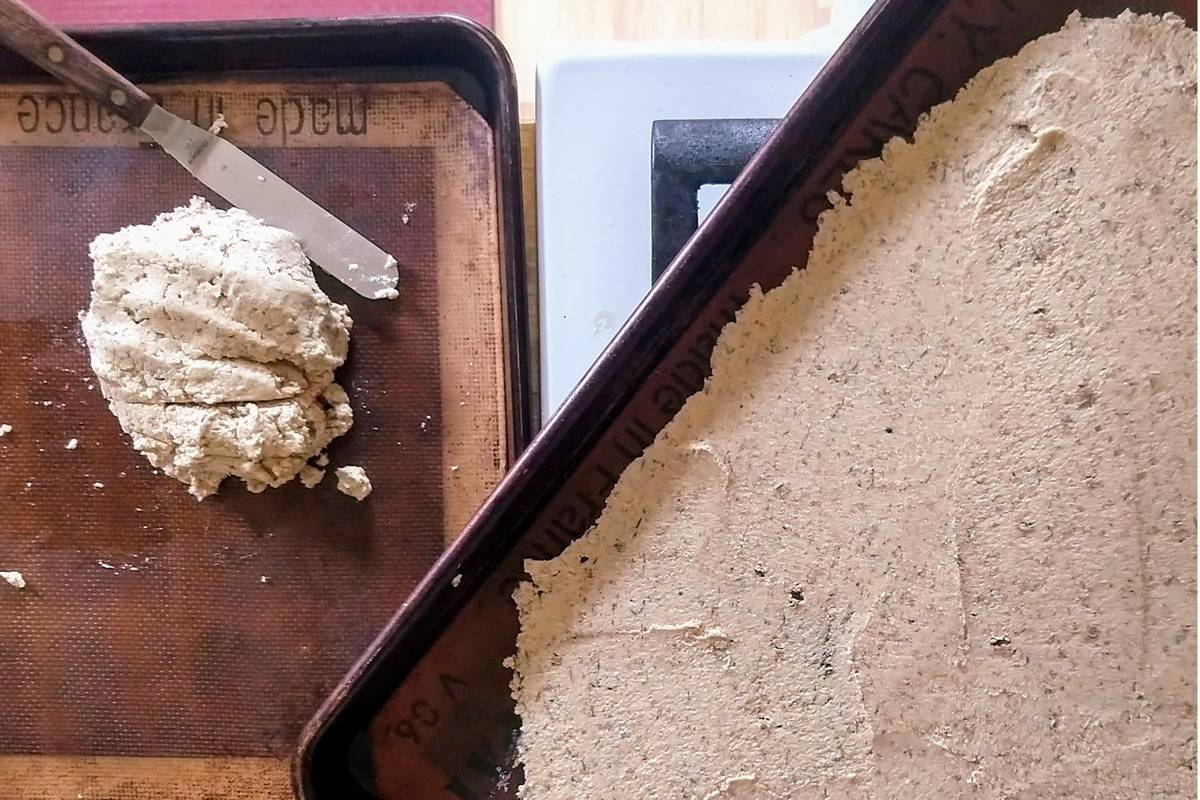
Continue adding water a little at a time until you have a slightly loose, spreadable “dough”. I use my hands to mix. Getting dirty is fun! If you know what I mean.
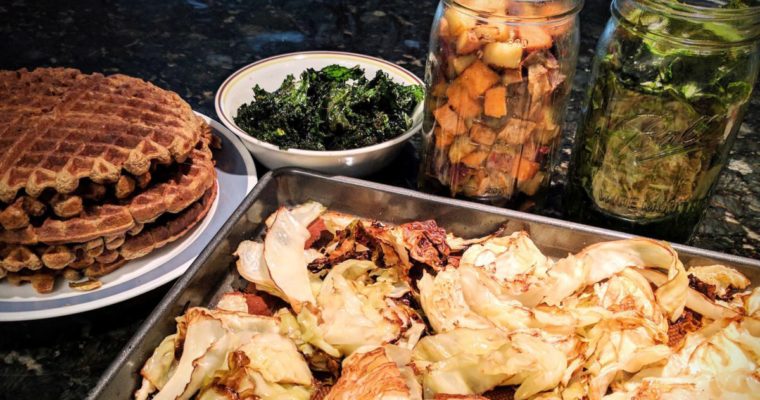
Divide onto two sheet pans lined with silpats or parchment. Spread each to an even, thin layer (see photo above). An offset spatula works nicely for this task. NOTE: If you want substantial crackers for dipping, keep the dough on the thicker side. Just remember they’ll take a little longer to bake (dry out) in the oven.
Bake for 15-20 minutes, then remove and score the dough into crackers (squares, rectangles, what have you). I recommend gently pressing the knife instead of dragging the knife through the dough. Sticky half-baked dough can adhere to the knife and create a bit of a mess and ruin your nicely spread cracker dough). Don’t worry about going all the way through the dough at this time, the crackers will break along the “fault lines”. This step is OPTIONAL – if you just want to break your crackers into random shapes after they have cooled, that’s fine too!
Continue baking for 45-60 minutes. You want to start checking them at this point, see if the edges are getting brown – if they are, take a few out and see if they will “shatter” – there should be no bendy-ness to the crackers. The idea is to dry out the crackers completely. Rotate the pans if you need to (if your oven has hot spots). Keep checking after every 10-15 minutes; I hesitate to give an exact baking time as each oven is different in terms of how hot they get (or don’t get as the case may be).
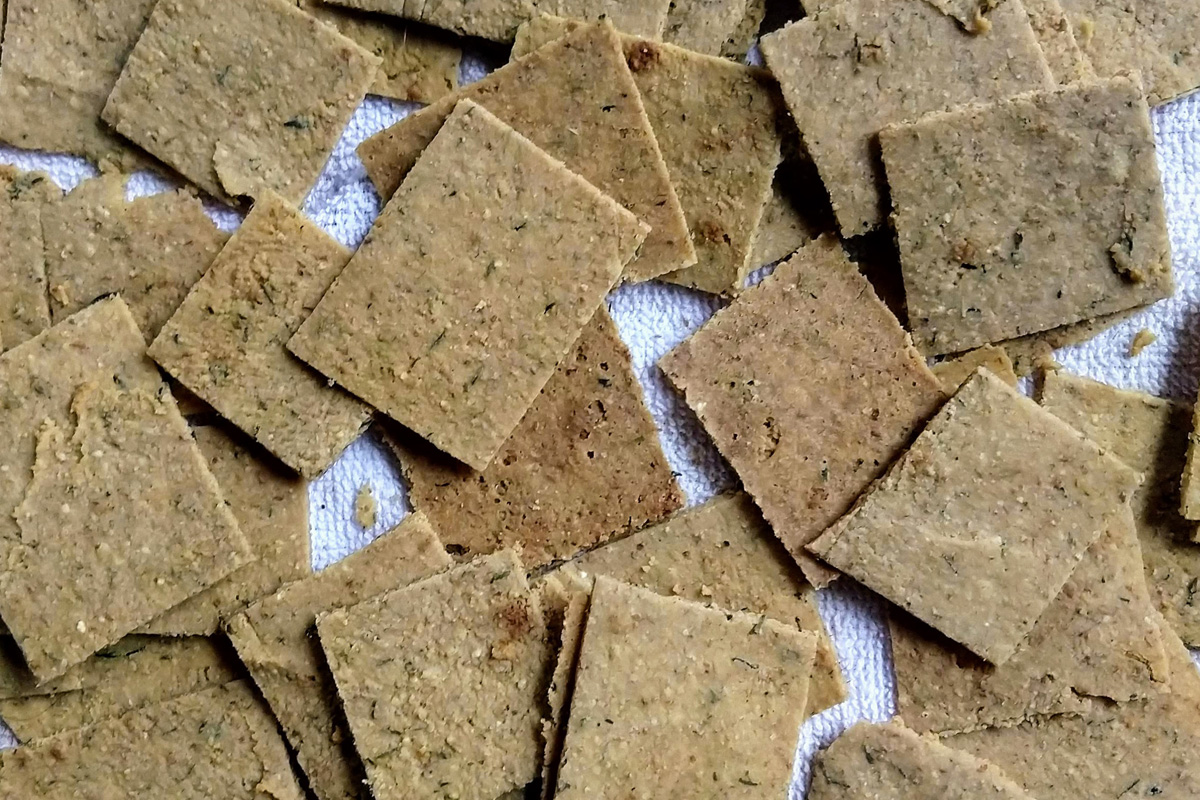
Cool on paper or tea towels and then break apart – and enjoy!
PS: You may be wondering, why bother taking the time to write out a recipe that’s been done a hundred times over? Mostly because I hate – I mean really REALLY hate with the passion of a thousand burning suns – how most recipes websites are so crammed full of ads these days. You can’t get to the recipe without 6 or 8 pop-ups or google ads floating into view. It’s incredibly annoying and has turned me off to many online bloggers.
If this website ever turns into THAT, please shoot me.
If you ever want to support this website, please see my Resources Page, which has all my referral and affiliate links in one tidy place. Or not. I don’t ever want to hit you over the head with ads, so again, please shoot me if that ever happens.
Rant over. Onwards!
Got Hashimoto’s?
Join me for my 6 week LIVE online course, Reimagining Hashimoto’s. Read what former students are saying about this transformational course below!
Learn more HERE.
_________________

If you have any questions about Hashimoto’s I cannot recommend this course enough! The road to health can be a long and complicated one but now I feel that I’m equipped with a good roadmap. Every aspect of the course was relevant and important. You will also find a highly supportive group of people that are on the same ride with you – the deep exchange in content, feelings, thoughts, and even recipes lets you know that you are not alone. If you are on the fence about this course, do it because you will be better for it! – Amy Palacios, Administrative Specialist at Public Health

Whether you are diagnosed with Hashimoto’s or not, anyone who’s ready and willing to make positive changes in their life and health should definitely take this course! Each Module left me with a lot of useful information to learn from and it helped me get a better understanding of my current condition as well as new tools to slowly start moving forward. The knowledge and perspective I gained has allowed me to create a more balanced approach in all areas of my life. – Mariana Osuna, Independent Filmmaker

The camaraderie among the Reimagining Hashimoto’s group was amazing! Sandy was a great leader who created a safe environment so we could all share and benefit from each others’ knowledge and experience. I highly recommend this course to anyone seeking information and encouragement as they navigate forward from their Hashimoto’s diagnosis, regardless of where they are in their journey! – Diane Corey, Realtor and Multi-Million Dollar Producer

I didn’t expect how beautifully and completely presented this course would be. Sandy is a consummate professional and everything she presented in this course was relatable, useful, fascinating, enriching, and deeper than I could ever have imagined. Her research was in-depth, and the links she added in the resources section was fantastic. I have gone on more “deep dives” into subjects I never anticipated were related. I HIGHLY recommend participation in this course, and working with Sandy in any capacity you are able to. She is wonderful. – KC Still, Professional Musician and Suzuki Instructor
Sandy Swanson is a Certified Functional Health Coach who received her training from Chris Kresser’s ADAPT Health Coach training course (A-CFHC) and is also a National Board Certified Health and Wellness Coach (NBC-HWC). You can learn more about her here and more about what coaching is here.